Every baker has a loaf that is theirs. Not because they invented it (the country sourdough belongs to no one), but because of the number of times you've made it, adjusted it, failed at it, and eventually found your version.
This is mine. I've baked it more times than I can count. The recipe below reflects where I am now, but I expect it to keep shifting, the way all living things do.
The Formula
| Ingredient | Weight | Baker's % |
|---|---|---|
| Bread flour | 400g | 80% |
| Whole wheat flour | 100g | 20% |
| Water | 375g | 75% |
| Starter (active) | 100g | 20% |
| Fine sea salt | 10g | 2% |
The 20% whole wheat pulls in a bit of nuttiness and depth without making the crumb tight. If you want a lighter loaf, drop it to 10% and increase the bread flour to match.
The Day Before: Feed Your Starter
12 hours before you mix, feed your starter at a 1:5:5 ratio (starter to flour to water). You want it to peak just as you're ready to mix, domed and bubbly and smelling pleasantly sour. The float test is useful but not definitive. I trust the dome more than the float.
Mixing
Combine flour, starter, and 350g of the water (hold back 25g for the salt). Mix until no dry flour remains. It doesn't need to be smooth yet. Cover and rest for 30 minutes. This is the autolyse.
After 30 minutes, dissolve the salt in the remaining 25g of water and add it to the dough. Squeeze and fold it through until the salt water is fully incorporated.
Bulk Fermentation
This phase varies more than any other, and it's the one where you really have to pay attention. I ferment at around 76°F (24°C) for 5 hours. At lower temperatures, give it more time. At higher temperatures, watch it closely.
Stretch and folds. During the first two hours, do a set of stretch and folds every 30 minutes, 4 sets total. After that, leave the dough alone. By the end of bulk, it should be noticeably airy, jiggly, and domed. The volume will have increased by 50 to 75%.
Trust the dough, not the clock. Temperature, starter activity, and flour all affect timing. A properly fermented dough matters more than hitting a precise number of hours.
Shaping
Turn the dough onto a clean, unfloured surface. Pre-shape gently into a round. Rest uncovered for 20 to 30 minutes. The gluten will relax and shaping will be easier.
For the final shape, I use a batard shape (oval) for my Dutch oven. Flour the bottom of the dough, flip it over, and use tension-building folds to draw the surface tight. Transfer seam-side up into a well-floured banneton.
Cold Proof
Cover and refrigerate for 10 to 16 hours. The slow cold ferment develops flavour and makes scoring easier. The cold dough also holds its shape better going into the oven.
Baking
Preheat your Dutch oven in a 500°F (260°C) oven for at least 45 minutes.
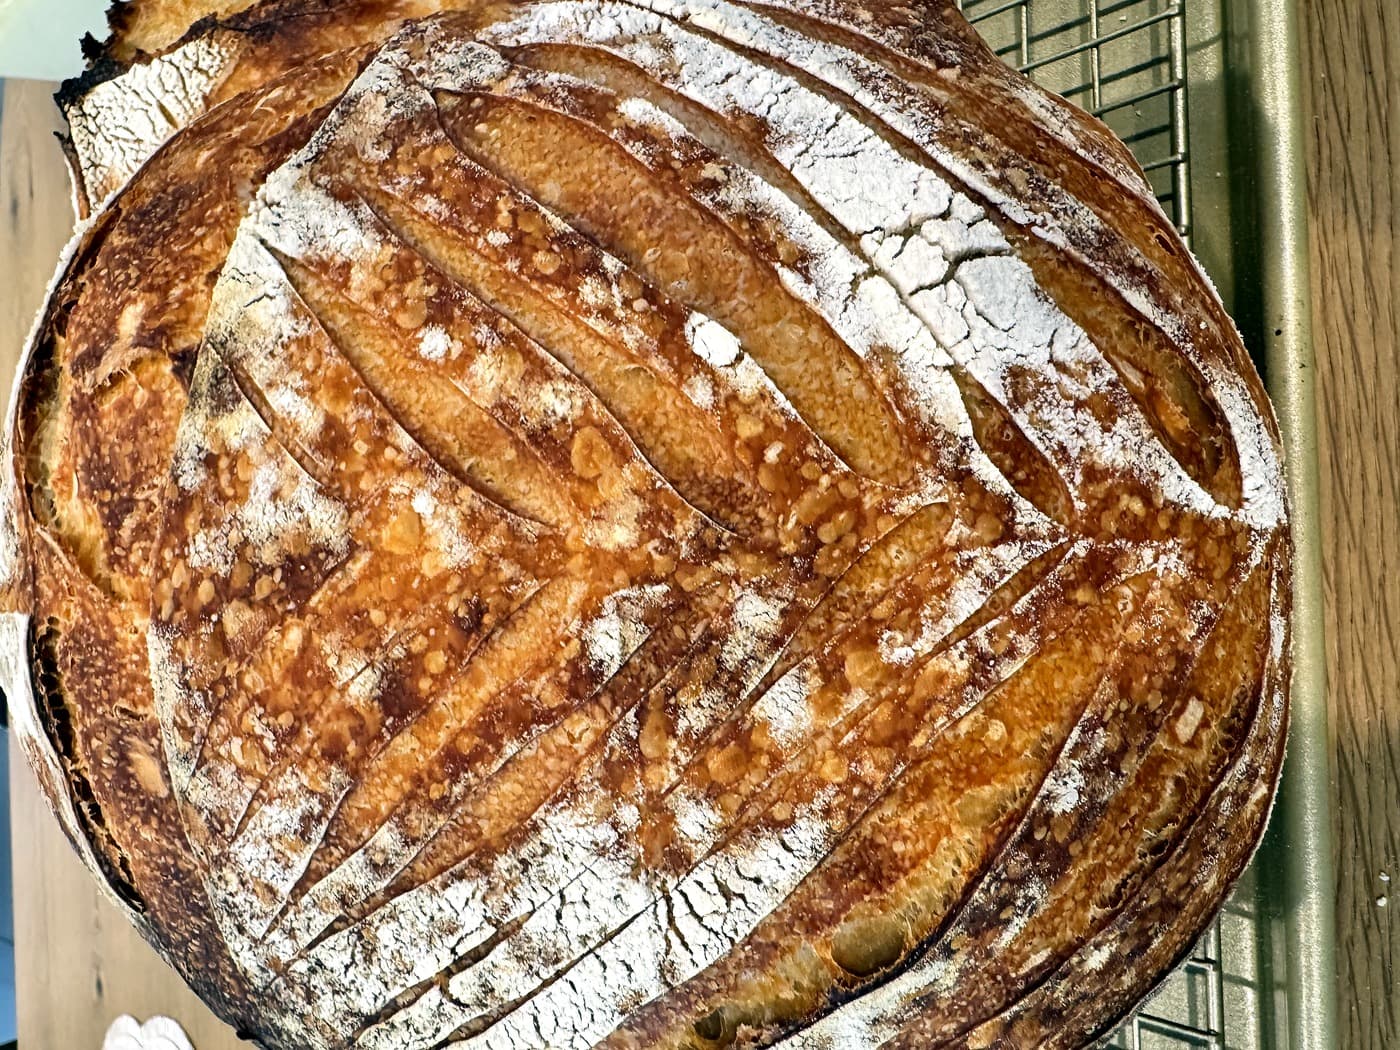
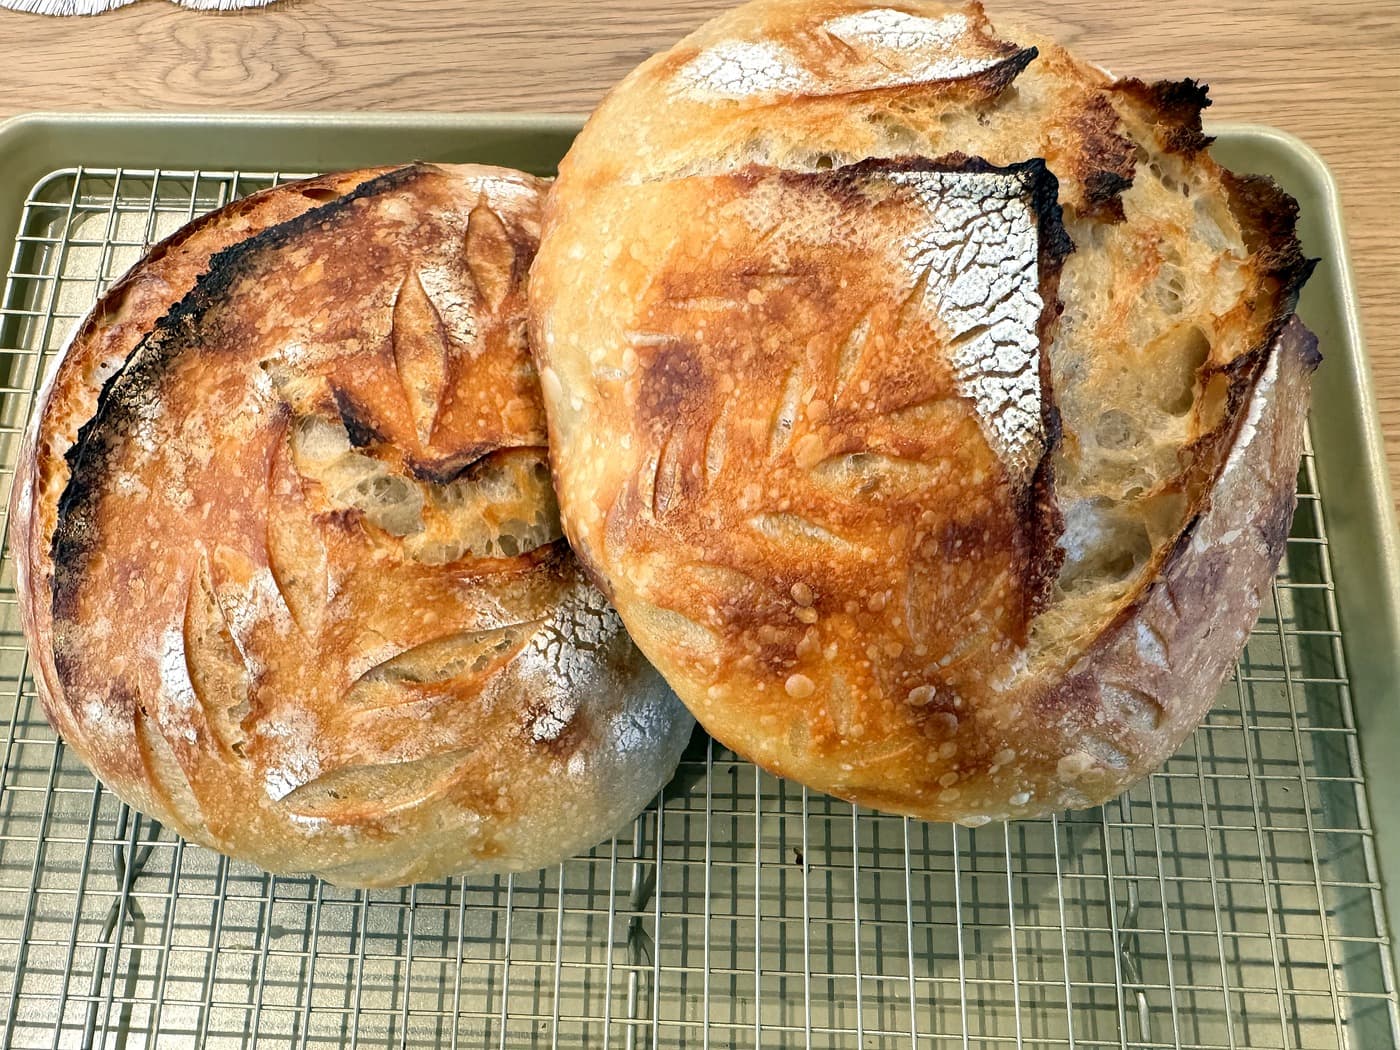
Remove your dough from the fridge and score it decisively (one central score at a 45° angle, about half an inch deep), then lower it into the screaming-hot Dutch oven. Bake covered for 20 minutes, then uncover and reduce to 460°F. Bake for another 20 to 25 minutes until the crust is deeply bronzed.
Let the loaf cool for at least an hour before cutting. I know. It's hard. But the crumb sets during cooling, and cutting too early gives you a gummy interior that looks nothing like what's actually in there.
Notes
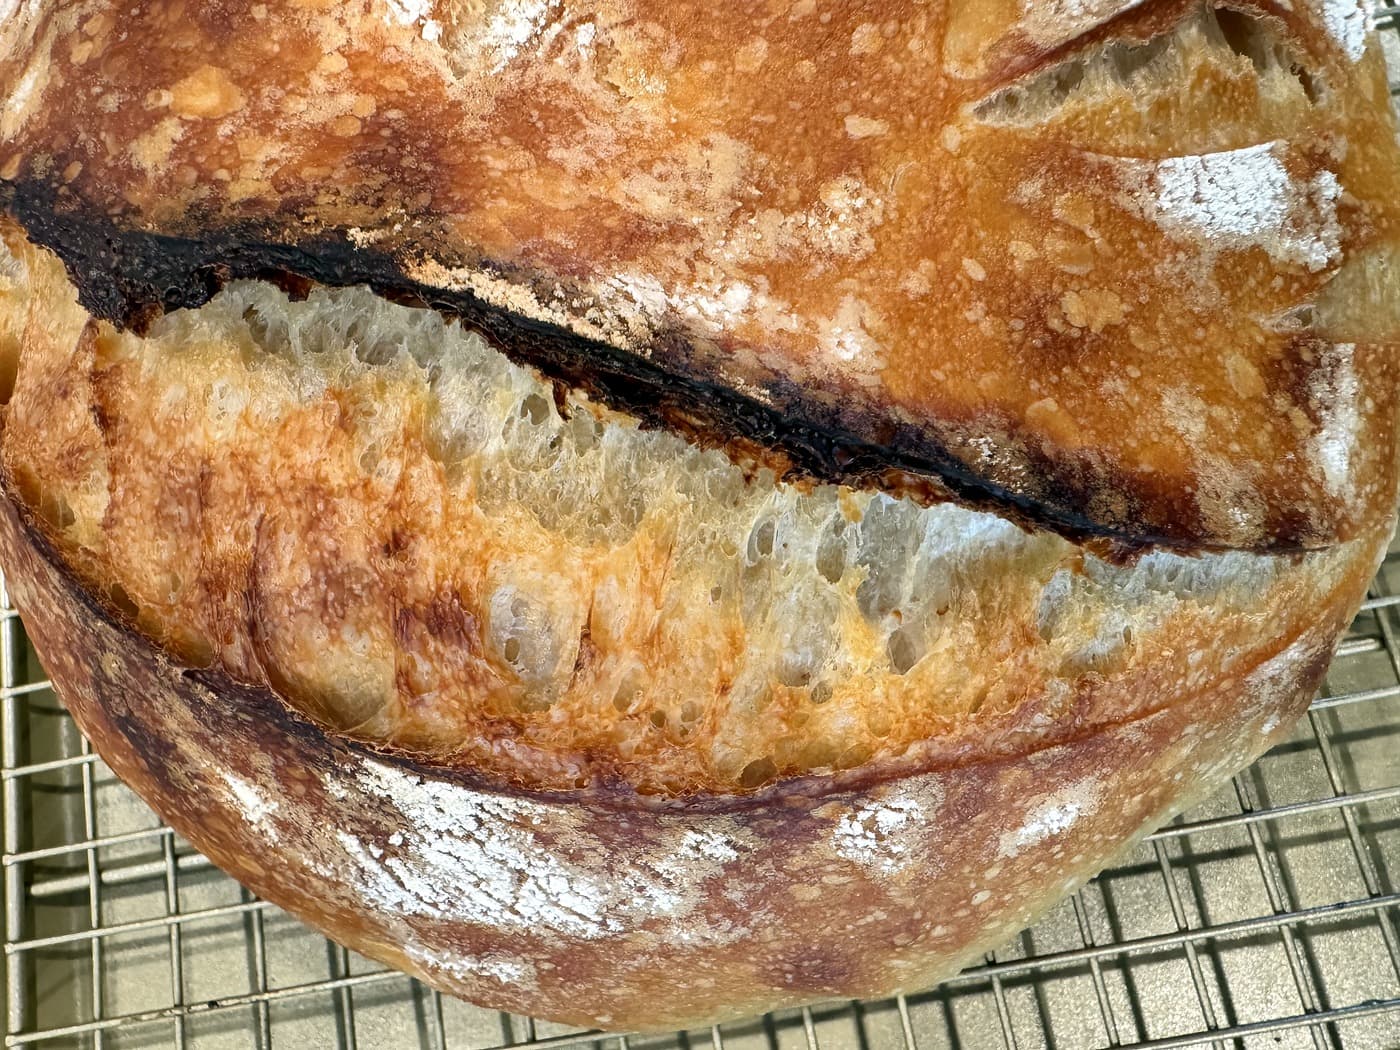
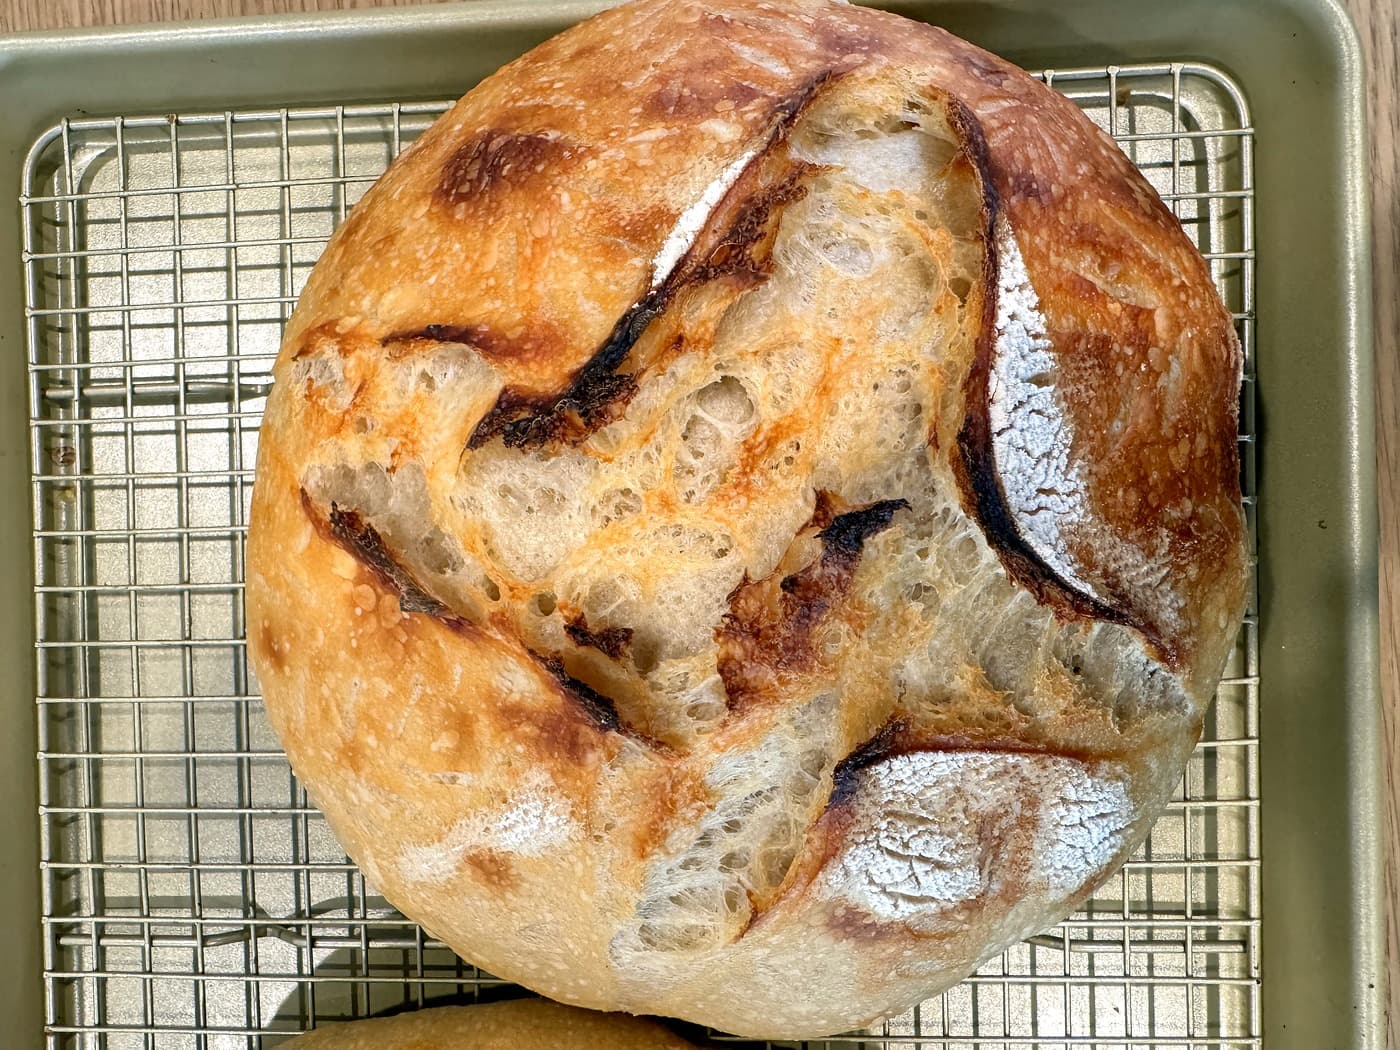
The crust on this loaf is one of its best features. It shatters when you tear it, a sound that never gets old. The crumb runs from irregular and open near the center to slightly tighter at the edges, which is exactly where I want it.
I eat this with good butter and flaky salt, or toasted with soft cheese. It also makes the best toast I've ever had. The crust caramelizes again in the toaster in a way that makes the kitchen smell like a bakery for a few minutes.
Photos
Tasting Notes
Open, irregular crumb with a thin, crackly crust. Mild tang with a wheaty, slightly nutty finish. The crust shatters when you tear it.